A single shift of unmonitored dust exposure can cause irreversible lung damage. Respirable dust monitoring sits at the center of every serious occupational health program, yet too many operations treat it as a paperwork exercise rather than a life-saving practice. The result is predictable: over-exposed workers, regulatory citations, and corrective actions that come months too late.
This guide walks you through setting up a reliable dust monitoring program from scratch. You'll learn how to distinguish between dust fractions that matter, select the right equipment, meet OSHA and MSHA requirements, and build a workflow that turns raw data into immediate protective action. Whether you manage a construction site or an underground mine, you'll finish with a clear, step-by-step plan you can implement this quarter.
Step 1: Understand Dust Fractions and Why Respirable Particles Are the Priority
Not all dust threatens workers equally. Particle size determines how deep into the respiratory system dust penetrates, and regulatory agencies define specific fractions based on aerodynamic diameter. Mixing up these fractions leads to monitoring the wrong thing entirely.
Inhalable, Thoracic, and Respirable: What Each Fraction Means
Inhalable dust (up to 100 µm) enters the nose and mouth. Thoracic dust (up to ~25 µm, with a 50% cut at 10 µm) reaches the bronchial region. Respirable dust (50% cut at 4 µm) penetrates deep into the gas-exchange region of the lungs, where the body has almost no ability to clear it.
PM10 and PM2.5 are ambient air quality metrics that overlap with occupational fractions but aren't identical. PM2.5 closely approximates the respirable fraction, making it useful for screening. However, occupational compliance sampling follows ISO 7708 definitions and requires size-selective samplers calibrated to those specific cut points.
The practical takeaway: if you're only tracking "total dust," you're missing the fraction that causes silicosis, coal workers' pneumoconiosis, and other fatal diseases. Your monitoring program must capture respirable-size particles specifically.
Step 2: Choose Your Monitoring Method
Two primary approaches dominate industrial dust monitoring, and most effective programs use both. Understanding the trade-offs between them will shape your equipment budget and your response time to hazardous conditions.
Gravimetric Sampling
Gravimetric sampling remains the gold standard for regulatory compliance. A constant-flow pump draws air through a size-selective cyclone and onto a pre-weighed filter cassette over a full shift. The filter goes to an accredited lab for mass analysis, and for silica, follow-up X-ray diffraction or infrared spectroscopy determines crystalline content.
Accuracy is the strength here. Gravimetric results produce legally defensible exposure data that regulators accept without question. The weakness is turnaround time: you'll wait days or weeks for results, making it impossible to intervene during the shift where exposure actually occurred.
Real-Time Direct-Reading Monitors
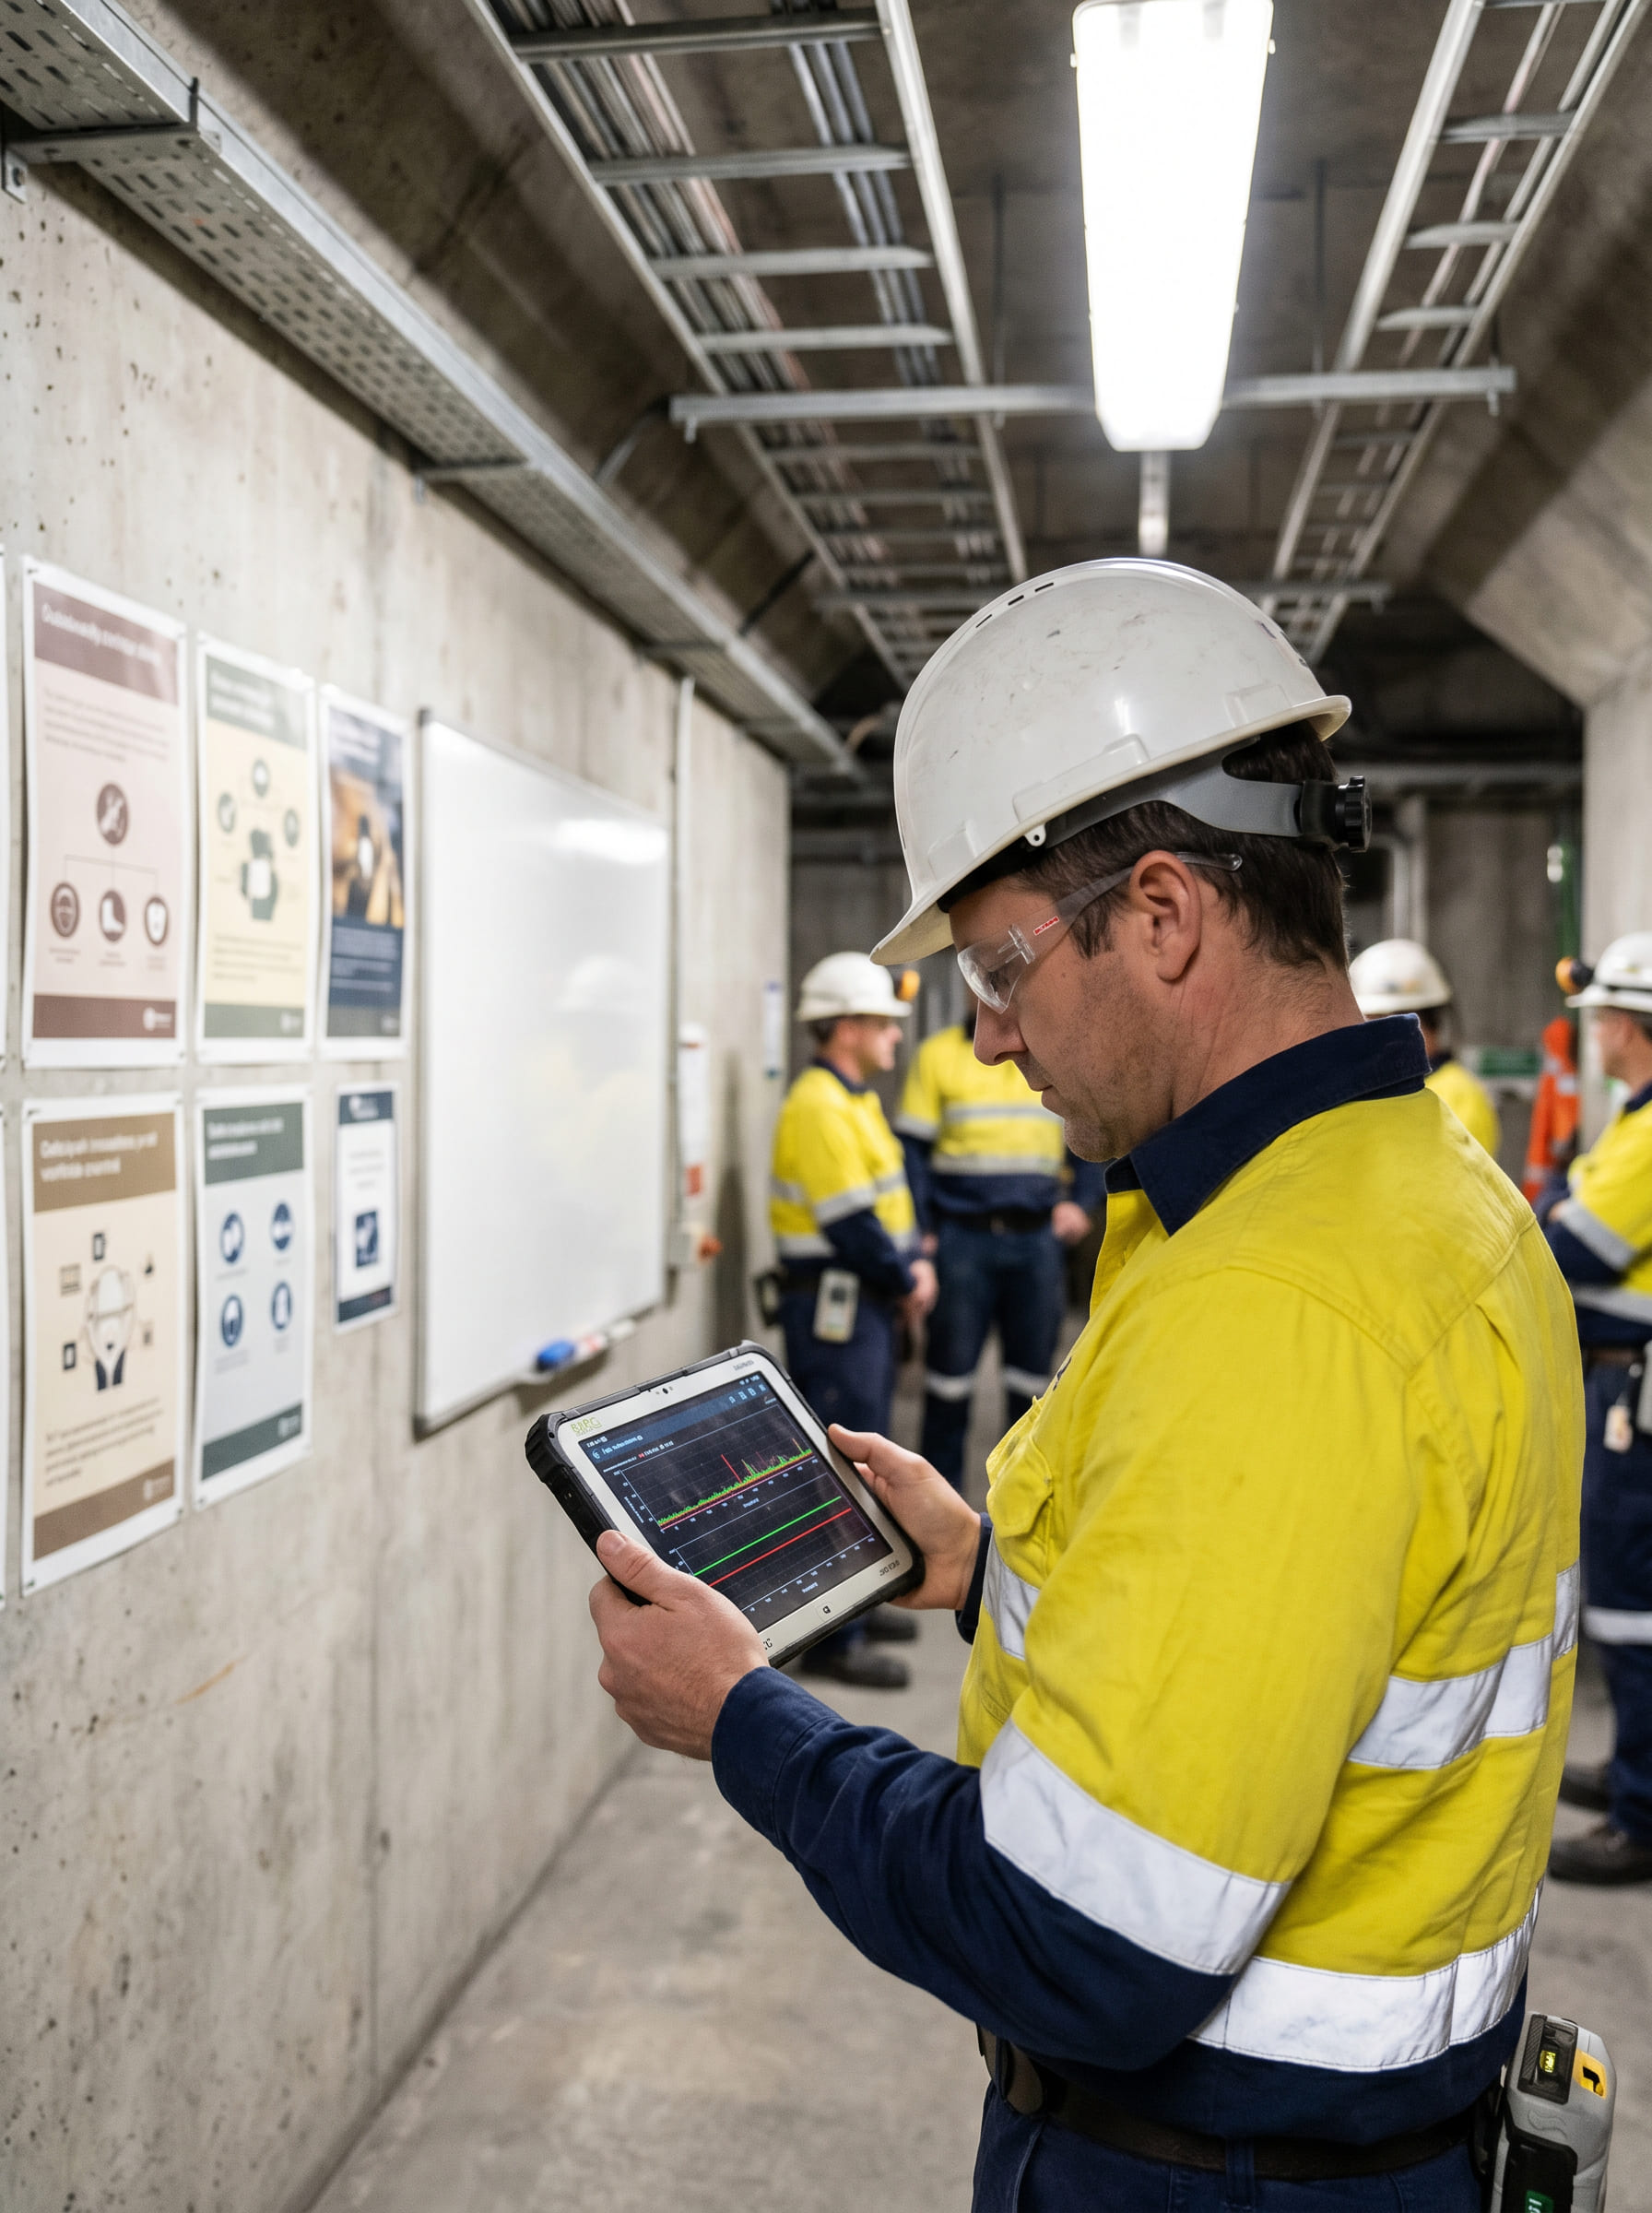
Direct-reading instruments use light-scattering (optical) or gravimetric-equivalent (TEOM, beta attenuation) principles to produce continuous concentration readings. They deliver second-by-second data, enabling immediate alerts when dust levels spike.
The trade-off is that optical sensors measure a proxy for mass concentration. Readings vary with particle composition, shape, and humidity, so they require calibration against gravimetric reference samples for your specific dust type. Without that site-specific correction factor, you risk systematic over- or under-estimation of actual exposure.
A NIOSH study at a Wisconsin sand mine demonstrated that low-cost dust monitors can generate real-time data with high spatial and temporal granularity at a fraction of the cost of traditional instruments. The key was validating sensor readings against gravimetric samples collected simultaneously.
- Factor: Accuracy | Gravimetric Sampling: Reference-grade (lab verified) | Real-Time Monitors: Good with site-specific calibration
- Factor: Response Time | Gravimetric Sampling: Days to weeks | Real-Time Monitors: Seconds
- Factor: Cost per Sample | Gravimetric Sampling: $50–$200+ (lab fees) | Real-Time Monitors: Minimal (sensor already deployed)
- Factor: Regulatory Acceptance | Gravimetric Sampling: Full (compliance method) | Real-Time Monitors: Supplemental (supports compliance)
- Factor: Best Use Case | Gravimetric Sampling: PEL compliance documentation | Real-Time Monitors: Hazard identification and controls verification
Our recommendation: use gravimetric sampling for compliance documentation and pair it with real-time monitors for day-to-day exposure management. Running only gravimetric sampling means you're always looking backward. Running only real-time monitors without gravimetric validation means your numbers may not hold up under regulatory scrutiny.
Step 3: Select the Right Respirable Dust Monitoring Equipment
Equipment selection depends on what you need to measure, where you're measuring, and how quickly you need answers. Avoid the common mistake of buying the most expensive instrument and assuming it fits every scenario.
Personal vs. Area Monitoring
Personal samplers attach to the worker's breathing zone (lapel area) and capture the exposure that individual actually experiences. OSHA and MSHA compliance sampling requires personal, breathing-zone measurements. Area monitors sit at fixed locations and characterize the general environment, identify source contributions, and verify engineering controls.
You need both. Personal sampling tells you if a specific worker is over-exposed. Area monitoring tells you where the dust comes from and whether your controls work across the entire site. Choosing between worker dust exposure monitoring and area-based approaches isn't an either-or decision for a mature program.
Key Selection Criteria
Match your instrument to these factors:
Particle-size selection: Confirm the cyclone or inlet matches the respirable convention (4 µm, 50% cut). For silica, you'll need a cyclone compatible with NIOSH 7500 or MSHA P-7 methodology.
Environment: Intrinsically safe certification for mining and explosive-atmosphere sites. Weatherproofing for outdoor construction. Cold-weather operation capability for northern or high-altitude sites.
Data logging and alerts: Real-time instruments should log at intervals of 60 seconds or less and support configurable alarm thresholds.
Portability vs. coverage: Handheld instruments suit short-term surveys. Networked stationary sensors suit continuous perimeter or process monitoring.
For operations needing a comprehensive dust monitoring system and equipment network, look for platforms that integrate sensor hardware with cloud-based analytics. Standalone instruments create data silos. Connected systems create actionable intelligence.
Step 4: Know Your Regulatory Requirements (OSHA and MSHA)
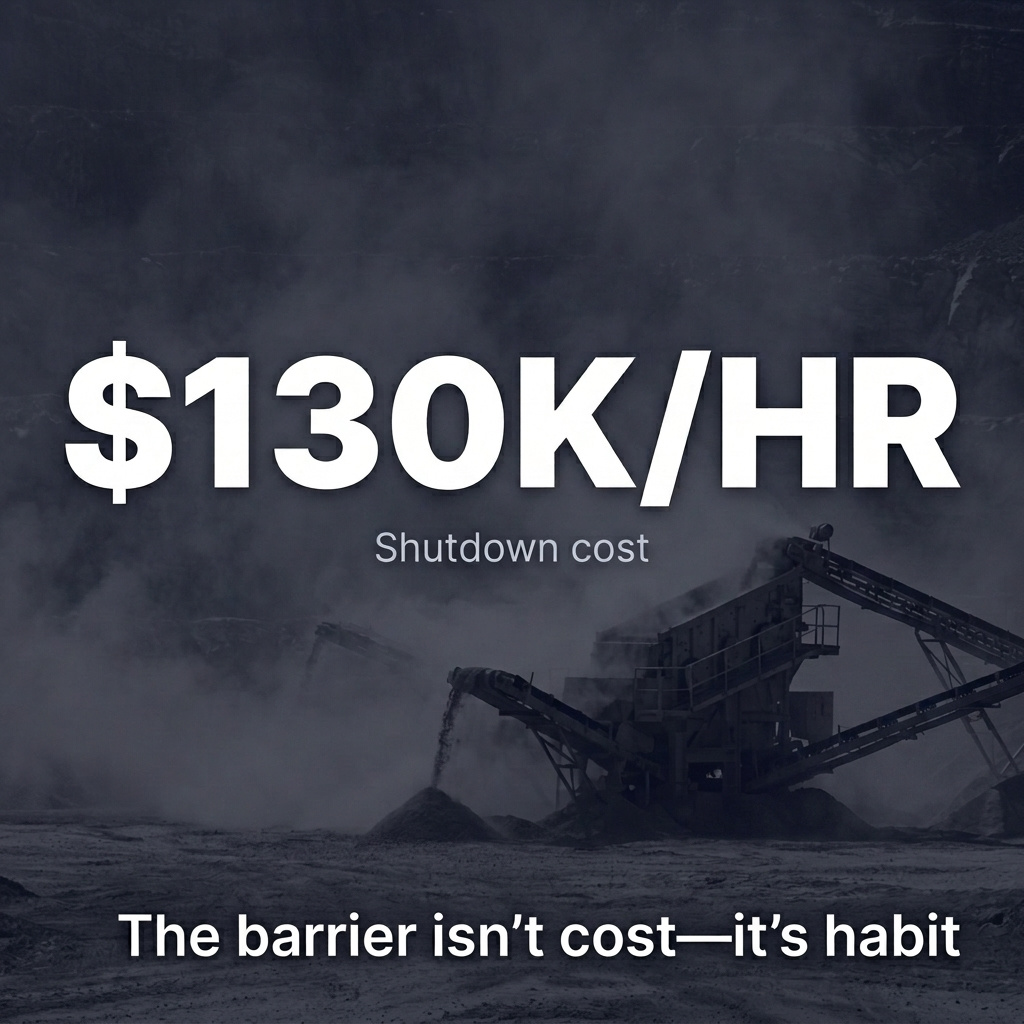
Regulations set the floor for your monitoring program, not the ceiling. That said, getting the floor wrong means citations, penalties, and potentially shutting down operations.
OSHA Permissible Exposure Limits
OSHA's general industry standard (29 CFR 1910.1000) sets a PEL for particulates not otherwise regulated (PNOR) at 5 mg/m³ for the respirable fraction. For construction, 29 CFR 1926.55 references the same table.
Respirable crystalline silica carries a far stricter PEL of 50 µg/m³ as an 8-hour TWA under 29 CFR 1926.1153 (construction) and 29 CFR 1910.1053 (general industry). The action level is 25 µg/m³. Exceeding the action level triggers medical surveillance and exposure monitoring requirements. California Department of Public Health data shows 51% of inspected stone countertop fabrication shops had silica exposures above the PEL, with some reaching 670 µg/m³. The problem is widespread, not hypothetical.
OSHA requires employers to document exposure assessments, implement engineering controls when exposures exceed the action level, and provide respiratory protection when controls alone aren't sufficient. Understanding the risks and limits of silica dust exposure is a prerequisite for designing your sampling strategy.
MSHA's Updated Silica Standard
MSHA's 2024 silica rule lowered the metal/nonmetal PEL to 50 µg/m³ with an action level of 25 µg/m³, aligning more closely with OSHA. The rule requires full-shift, breathing-zone sampling using ISO 7708-compliant cyclones and constant-flow pumps. When samples exceed the action level, operators must implement immediate engineering controls and resample to verify reductions.
According to MSHA guidance, early adopters reported up to 40% reductions in over-exposure incidents within the first quarter by pairing mandatory resampling with ventilation upgrades and wet suppression. The rule's emphasis on documented corrective action means your monitoring program must include a clear chain from sample result to engineering response to verification resample.
Step 5: Implement Industry-Specific Monitoring Practices
A monitoring workflow that works for a fixed manufacturing plant won't translate directly to a dynamic construction site. Adapt your approach to the operational reality of your environment.
Construction Environments
Construction dust monitoring presents unique challenges because work locations, tasks, and dust sources shift daily. Concrete cutting generates intense but short-duration silica exposure. Demolition creates broad area contamination. Earthmoving sends plumes across site boundaries.
Place area monitors at the site perimeter and near the highest-risk operations. Assign personal samplers to workers performing Table 1 tasks under the OSHA silica standard. Reassess monitor placement weekly as work phases change. Don't assume last week's configuration still captures this week's exposure profile.
Mining and Industrial Plant Environments
Fixed operations allow more permanent sensor networks. Position monitors at process emission points (crushers, conveyors, transfer points), worker stations, and the facility fenceline. Underground mines need monitors at intake airways, return airways, and near cutting faces.
The advantage of fixed installations is continuous baseline data. You can identify seasonal patterns, correlate dust levels with production rates, and verify that engineering controls maintain effectiveness over time rather than degrading silently.
Step 6: Interpret Monitoring Data and Act on It
Data without action is expensive decoration. The entire point of monitoring is to drive decisions that reduce exposure.
Reading the Data Correctly
Real-time monitors show you instantaneous concentration and time-weighted running averages. A short spike might look alarming on a live graph but contribute little to the 8-hour TWA. Conversely, moderate sustained levels that don't trigger spike alarms can push the TWA above the PEL by shift end.
Train your team to watch both metrics. Set alarm thresholds at levels that give operators enough time to intervene before the cumulative TWA crosses the action level. A common approach: set the first alert at 50% of the PEL as a 15-minute rolling average, giving teams a buffer for corrective action.
Watch for environmental interference. High humidity causes optical sensors to overread because water droplets scatter light. Fog and rain events need correction factors or flagging. Validate questionable readings against co-located gravimetric samples before making major operational decisions based solely on real-time data.
From Alert to Action
Build a documented response protocol that your team can follow without ambiguity:
Alert triggers: Real-time monitor exceeds threshold. Automated notification goes to the responsible supervisor via text or email.
Immediate response: Activate dust suppression (water trucks, sprays, ventilation adjustments). Move non-essential personnel upwind or out of the area.
Root cause identification: Check which process, equipment, or weather condition caused the exceedance.
Verification: Confirm dust levels return below threshold after intervention. If not, escalate to respiratory protection or operational shutdown.
Documentation: Log the event, the response, and the verification data. This record is what protects you during an inspection.
Applied Particle Technology's monitoring platform supports this workflow through real-time alerts and automated reporting that connect sensor data to operational decisions. At Peabody's El Segundo mine, this approach allowed teams to pinpoint when high exposures occurred within shifts and target interventions to specific tasks rather than applying blanket controls.
Frequently Asked Questions
Q: How often should a respirable dust monitoring program be reviewed and updated?
A: Review the program whenever processes, materials, equipment, or staffing change, and schedule a formal audit at least annually. Update sampling locations, alert thresholds, and response roles based on recent incident logs, maintenance records, and production shifts.
Q: How do I estimate how many monitors and samples my site needs?
A: Start with a simple risk map that ranks tasks and locations by exposure likelihood and worker time spent there. Use that map to prioritize a small number of high-impact personal samples and a few area monitors at major sources, then expand coverage as data reveals additional hotspots.
Q: What is the best way to handle data quality and instrument drift over time?
A: Establish routine checks such as flow verification for pumps, zero or span checks for sensors, and periodic side-by-side comparisons against a reference method. Track results in a maintenance log so you can spot drift early and defend data integrity during audits.
Q: How do I communicate dust monitoring results to workers without causing confusion or panic?
A: Use plain-language dashboards that explain what the numbers mean, what actions are triggered, and what workers should do when an alert occurs. Share trends by task and location, not individual blame, and include the specific control changes made as a result of the data.
Q: How do I integrate respirable dust monitoring with other EHS programs like hearing conservation or respiratory protection?
A: Align monitoring schedules, training, and corrective-action tracking so one workflow supports multiple hazards. For example, use the same inspection cadence and action log to document engineering controls, PPE decisions, and follow-up verification across programs.
Q: What are common mistakes when setting alarm thresholds for real-time dust monitors?
A: A frequent mistake is setting thresholds so low that alarms become constant, which leads to alarm fatigue and ignored notifications. Another is using a single threshold for all tasks, instead of tailoring alerts to the activity, location, and required response time.
Q: What should be included in a dust monitoring recordkeeping and audit trail?
A: Keep instrument IDs, calibration and maintenance logs, sampling plans, chain-of-custody documents, and a clear link between alerts, corrective actions, and verification results. A strong audit trail also includes who was notified, response timing, and any process changes that prevented recurrence.
Build a Program That Protects Workers, Not Just Paperwork
Effective respirable dust monitoring combines the right instruments, clear regulatory knowledge, and a disciplined response workflow. Gravimetric sampling anchors your compliance documentation. Real-time sensors fill the gap between samples and give your team the visibility to act before exposure becomes illness.
Start with the fundamentals: define your dust hazards, select size-selective samplers matched to those hazards, and build a response protocol your supervisors can execute without hesitation. Then layer in continuous monitoring to verify controls and build the defensible compliance record that keeps regulators satisfied and workers healthy.
Applied Particle Technology combines real-time dust sensors with cloud-based software to give EHS teams exactly this kind of operational visibility. Whether you're managing a construction site, a surface mine, or an aggregate plant, the platform delivers actionable data rather than reports that arrive too late to matter. Estimate your dust monitoring costs or book a conversation with the APT team to design a monitoring program that fits your operation.
Take a tour of APT's dust management platform
Vulcan Materials Company is the nation’s largest producer of construction aggregates.

Project partner
Brent Leclerc | Environmental Manager
Problems solved
Unjustified community dust complaints & lawsuits
Difficulty complying with opacity regulations and risk of NOVs
Solution
Real-time dust monitoring
Dust maps proving no community impact, preventing fines & lawsuits
Real-time opacity monitoring, high degree of compliance


Better decisions start with real-time insight
APT helps industrial teams move faster, act smarter, and stay compliant—because when you can see the problem clearly, you can solve it confidently.
